Task: Creating a Project
Creating a Project on the Device
-
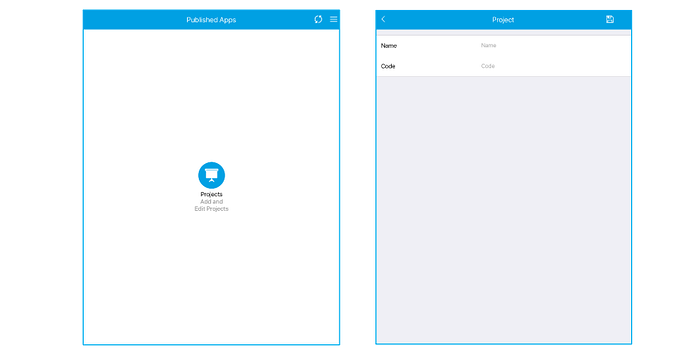
On the home screen of your device select the ‘Projects’ icon. Projects which are already created will show up in this list.
-
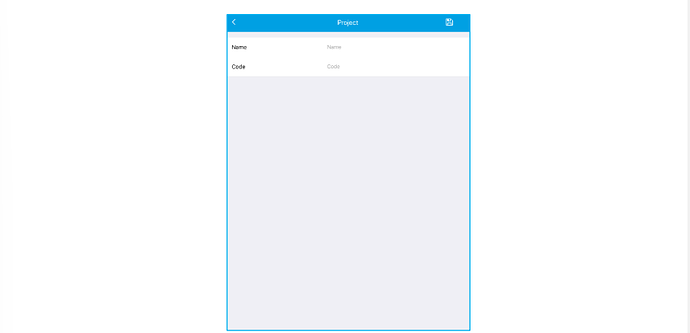
To create a new project, click the ‘+’ in the top right corner of the screen. This will allow you to
give a name and code to your project. Once you are happy with the name and code click
the save button in the top right corner of your screen
Creating a Project on the Portal
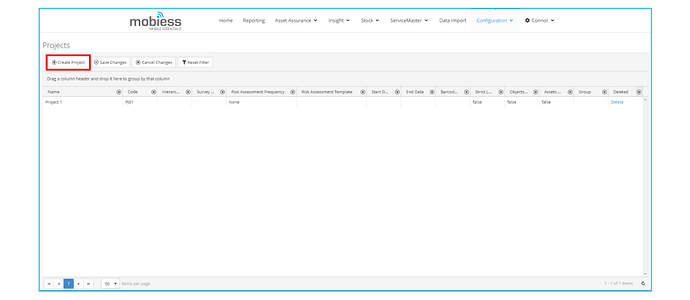
On the portal navigate to the ‘Configuration’ drop down and select ‘Projects’. On the
‘Projects’ page click the ‘Create Project’ button. This will allow you to create a new project.
Linking a Project to a Building- Device
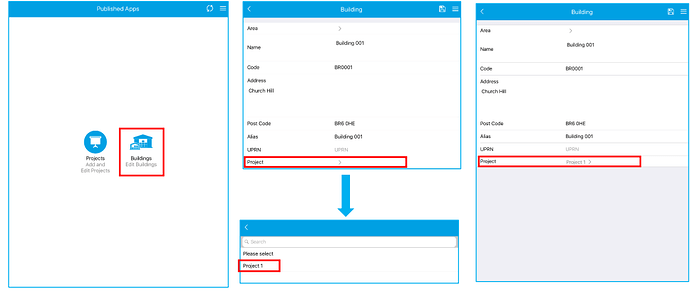
To link a project to a building open the buildings option on your device. Find the building you
want to link the project too. Now you have opened the details about that building in the
project option select the project you want to be linked to the building. Click the save button to
save the project selected.
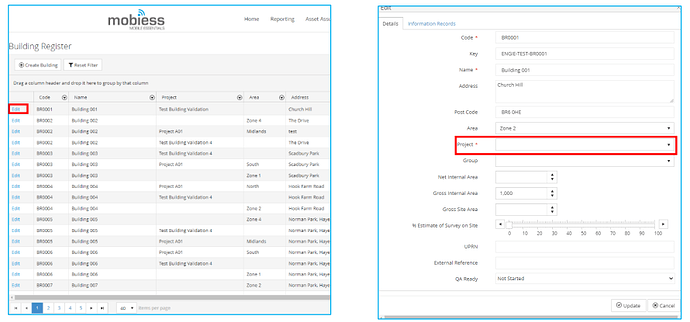
Linking a Project to a Building- Portal
To link a project to a building in the portal navigate to the configuration drop down and select
building. In the list locate the building you want to be linked to a project. Click the edit button,
a window will now appear. In the project drop down select the project you want linked to the
building and click save.
