Introduction
In this article you will be shown how to provision a device against a system.
How to Implement
After the app has been installed to the device and run, you will be prompted with the
following Provision Screen, where the provision reference for the desired system can be
entered manually, or the via the scan button allowing the QR to be scanned. The QR to be scanned is located in the Customer Settings tab of an Administrator account. In order to scan the QR code, you will need to accept the permission requested from your device to have access to the camera.

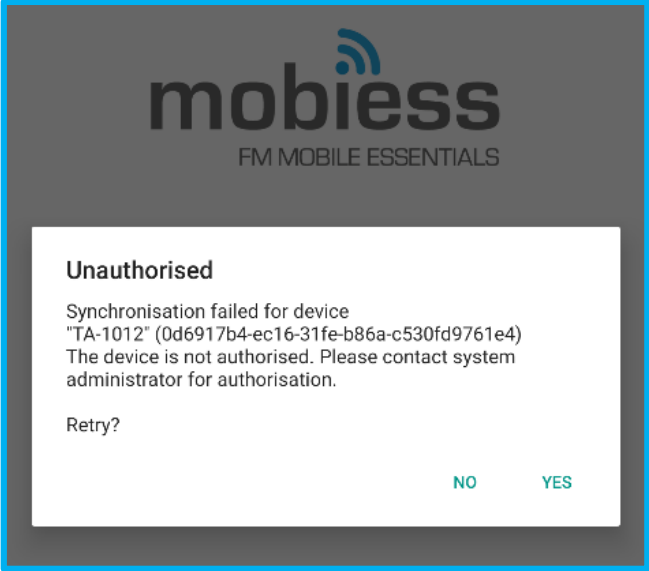
Once the provision reference is entered and the provision button tapped, or the QR code has
scanned successfully, you will then be prompted that the device is not authorised on the
system. Authorisation of your device can be completed by a device administrator or a member of the Mobiess team.
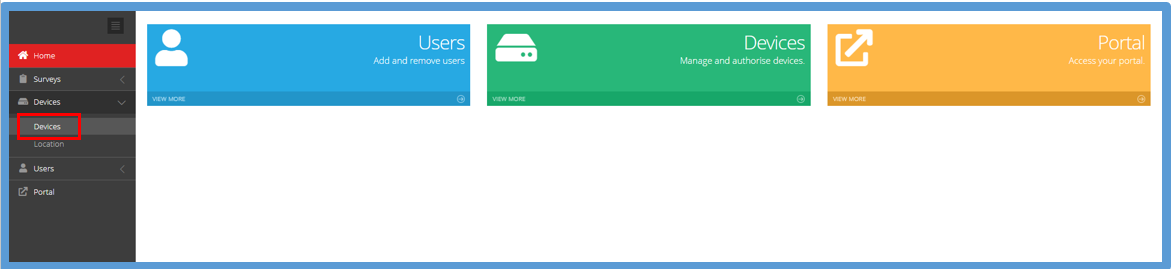
As an Administrator, go to Devices.
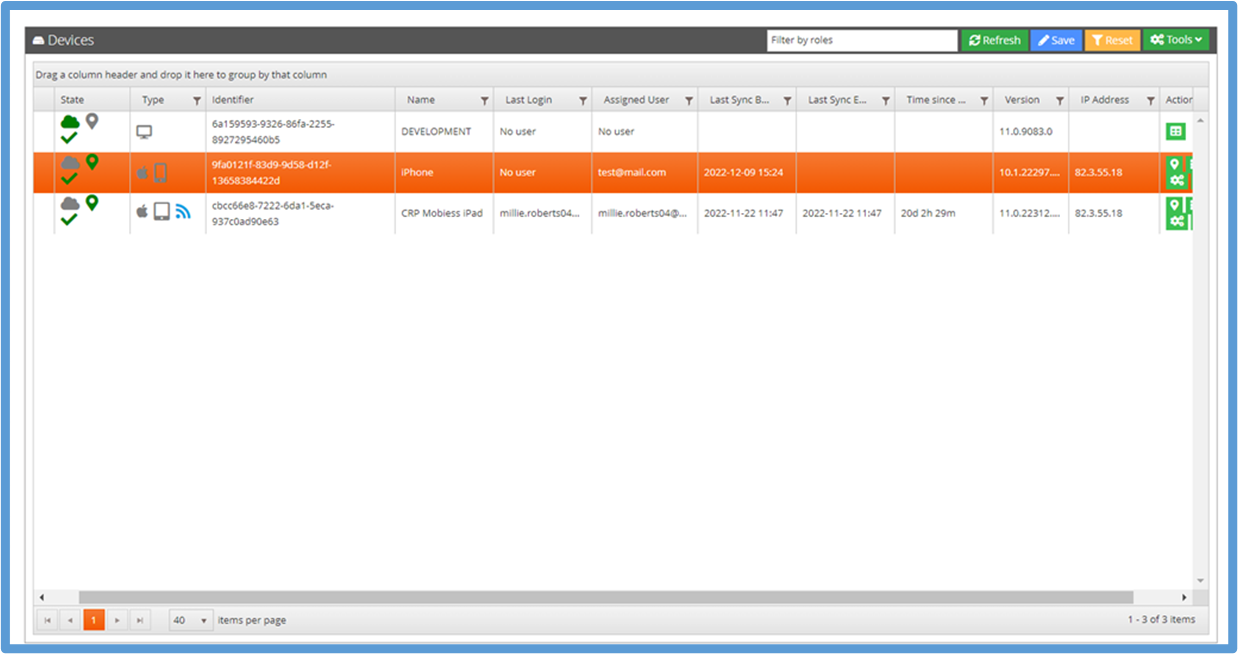
You will see the new device with a red X under the State column. Check that the identifier matches the one displayed on the device to confirm it is the same device, then click the line to highlight it, go to Tools and select Authorize. Click the blue Save button, and a green tick will appear in the State column, indicating that the device has been authorised to use the system.
If you want a certain user to be automatically logged in to that device every time the Mobiess app is accessed, click the Assigned User column on the row of the device you have just provisioned. The row should highlight orange, and a dropdown list of users will appear.
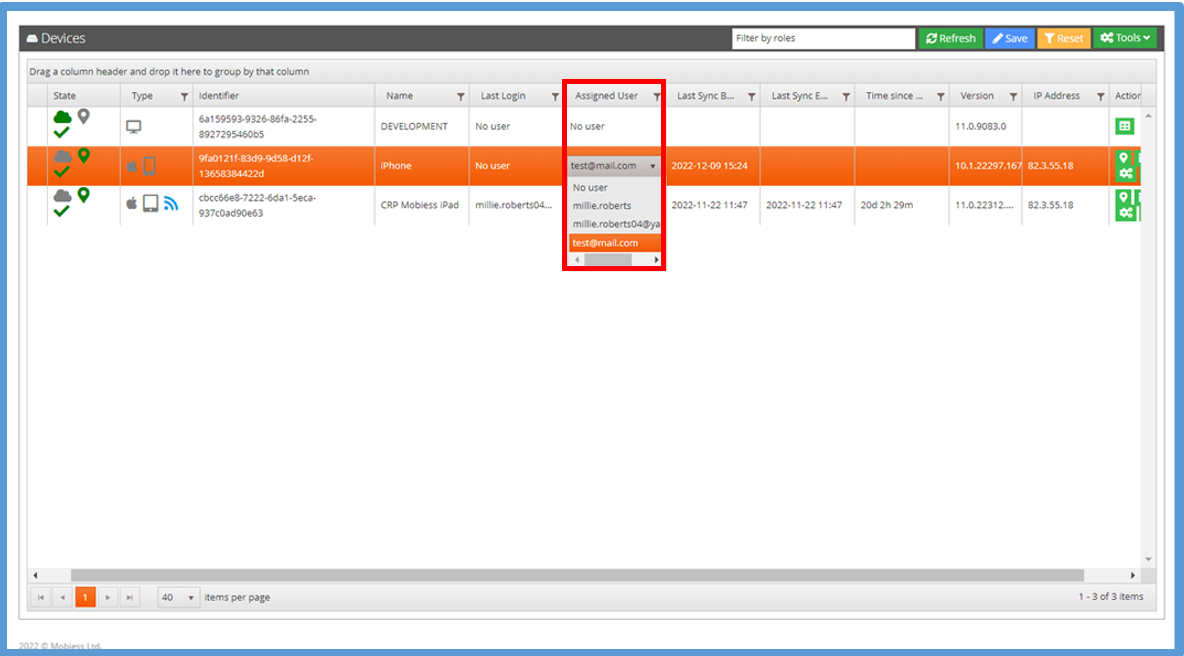
Select a user from the drop-down list. Next, you must click the blue Save button at the top right of the box, otherwise your changes will not be saved. Click Reset and your selected user will appear in the Assigned User column.
Now that the device has been authorised, return to the device and tap the Yes to retry on the “Unauthorised” pop-up. The device will start synchronising with the server to download the relevant data.
