Introduction
As well as being created in the web portal, it is also possible to create projects within the app.
How to Implement
Creating a Project
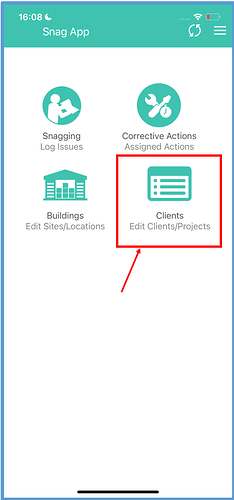
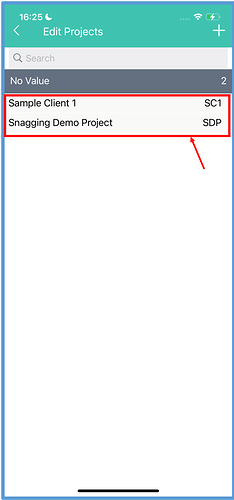
To create a project, navigate to the project directory by clicking on the “Clients- Edit Clients/Projects” button in the Snag app.
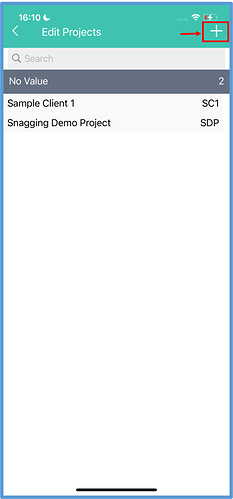
In the project directory, start creating a new project by clicking the white cross in the top right corner of the screen.
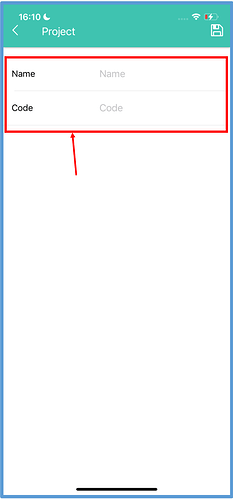
Enter your project’s name and code into the text boxes.
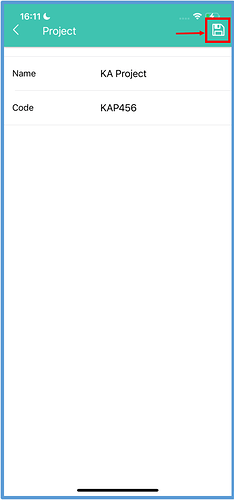
Once you have entered these details, click the white “Save” icon in the top right corner of the screen.
Your new project will be available to view in the project directory.
Editing a Project
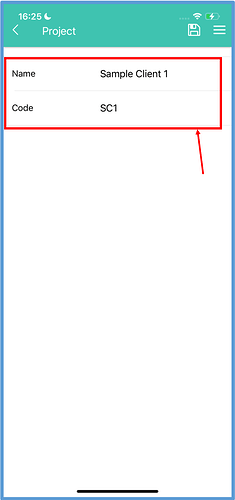
To edit a project, select a project from the directory.
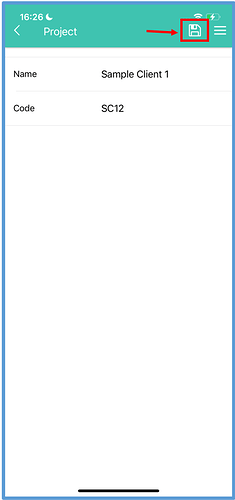
Once you have selected a project, you can change its name and code.
Once you have made your changes, click the white save icon in the top right of the corner in order to save your changes.
Your changes should now be visible in the project’s details.
Projects can be further updated with extra details via the web portal. Click here to find out more.
