Introduction
Projects can be created within the Web Portal.
How to Implement
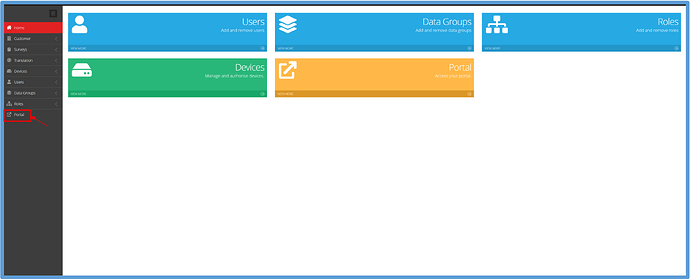
To create a project, you must first navigate to the web portal. To do this, click the “Portal” tab within the admin portal.
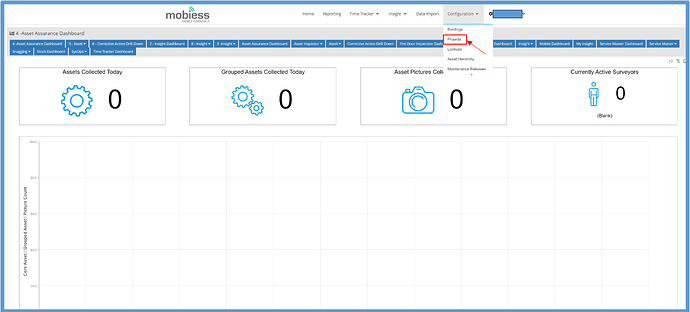
Once in the web portal, click the “Configuration” tab, then click “Projects”.
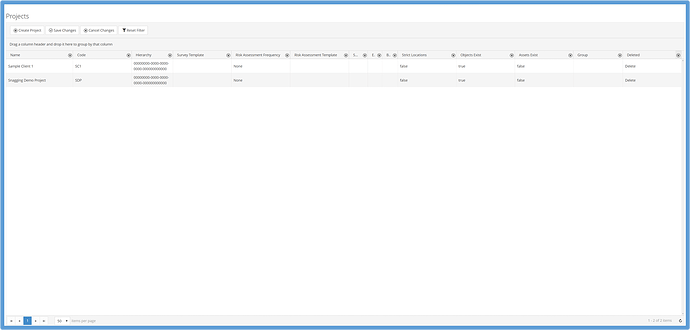
You will then be taken to the Projects page, where you are able to view all projects available.
How to Create a Project
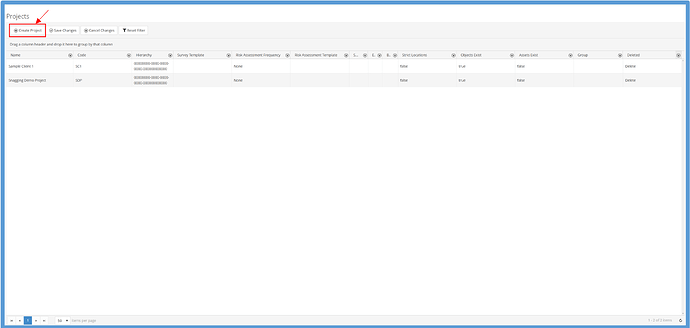
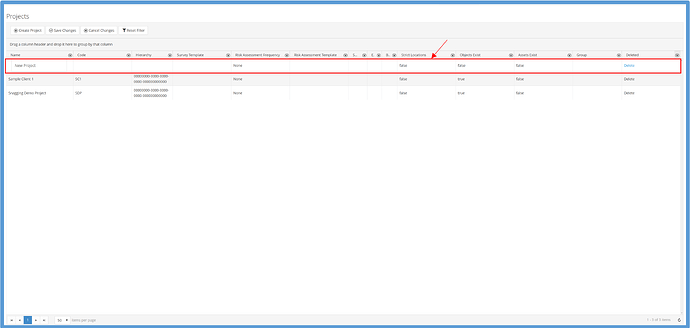
To create a project, click the “Create Project” button in the top left corner of the page.
Once you have clicked this button, a new row for your new project will appear.
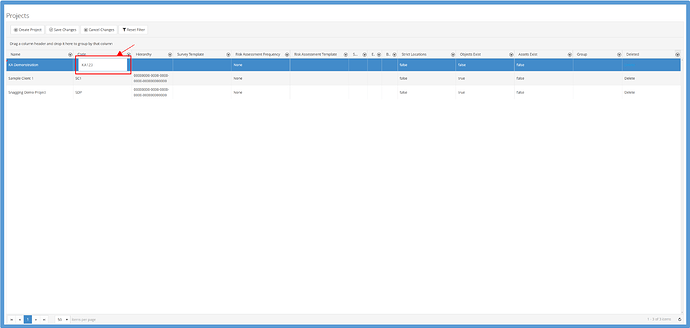
You are now able to edit your new project. To edit any part, simply click on the box under the column you wish to edit.
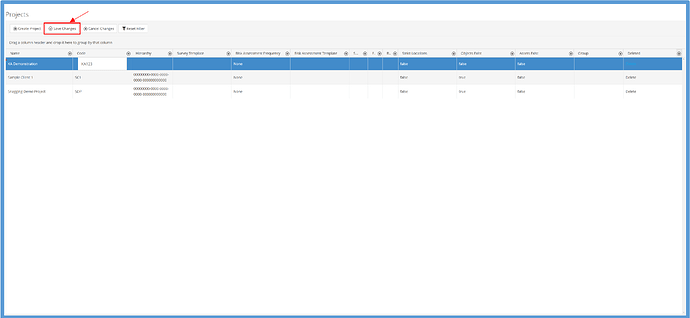
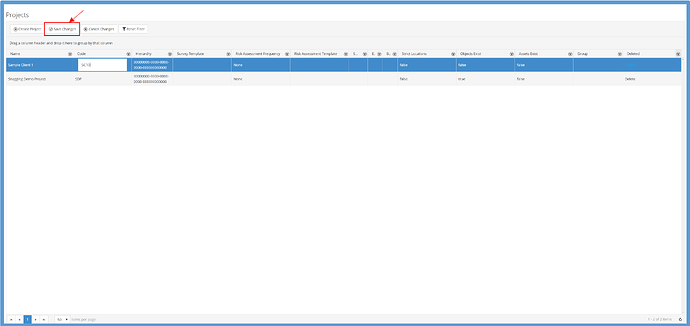
Once you are happy with your changes, click the “Save Changes” button at the top of the screen. Note that, if a required field has not been filled out, you will receive a notification below that field and will not be able to save the new project until the compulsory field has been filled out.
You will now be able to assign buildings to this project.
How to Edit a Project
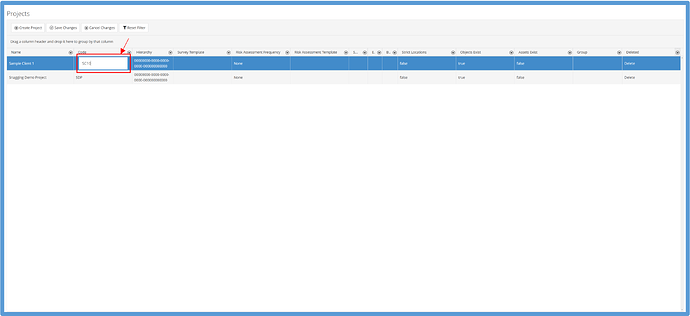
To edit a project, simply click the box of the column you wish to edit, and it should allow you to edit the data currently there.
Once you are happy with your edits, simply click the “Save Changes” button at the top of the screen.
Any updates to your project will now be shown within the project’s row.
